Rainbow chocolate!

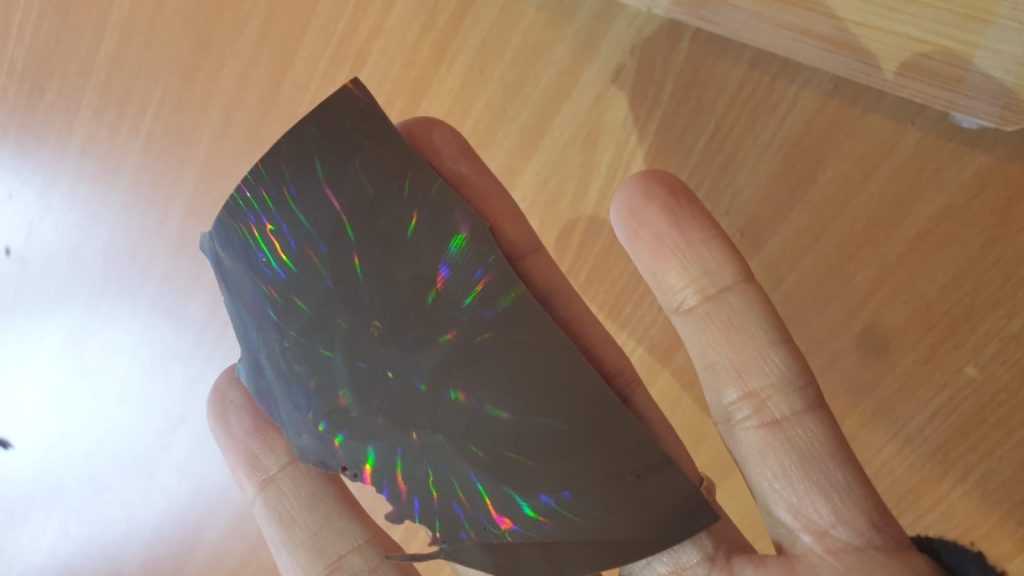
I’ve been a science teacher for almost 20 years, and I am most definitely a science geek!
I love doing science experiments and I love teaching kids.
With all my experience, very few experiments can surprise me, but this experiment totally blew my mind!
It is super cool! And super easy!
The first time I tried it, I couldn’t stop myself, and I didn’t wait for the chocolate to cool down. Pretty quickly tiny drops of water condensed on the surface of the chocolate and ruined the effect. So even though it’s hard, be patient.
All you need is a good diffraction grating, and chocolate and you’re good to go.
Materials:
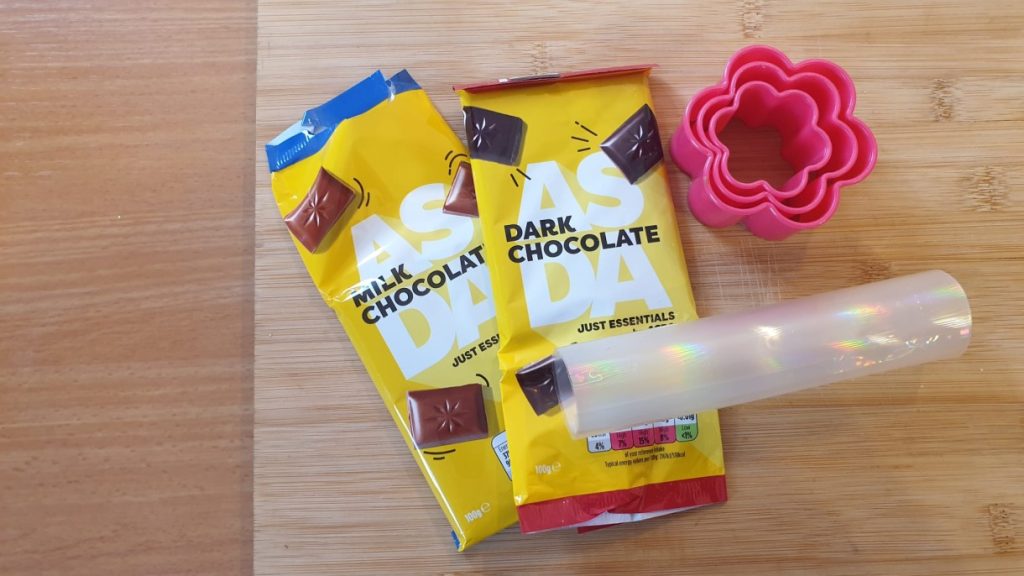
- Chocolate (dark chocolate works best)
- Diffraction grating
- A pot with water
- A spoon and a heatproof cup
- Cookie cutters (not a must)
Remember, when working with chocolate, it’s important to avoid any moisture, as it can cause the chocolate to seize or become grainy. Ensure all your equipment is dry, and be patient during the melting process
*For best rsults, choose a good quality grating. buy 13,500 lines only!
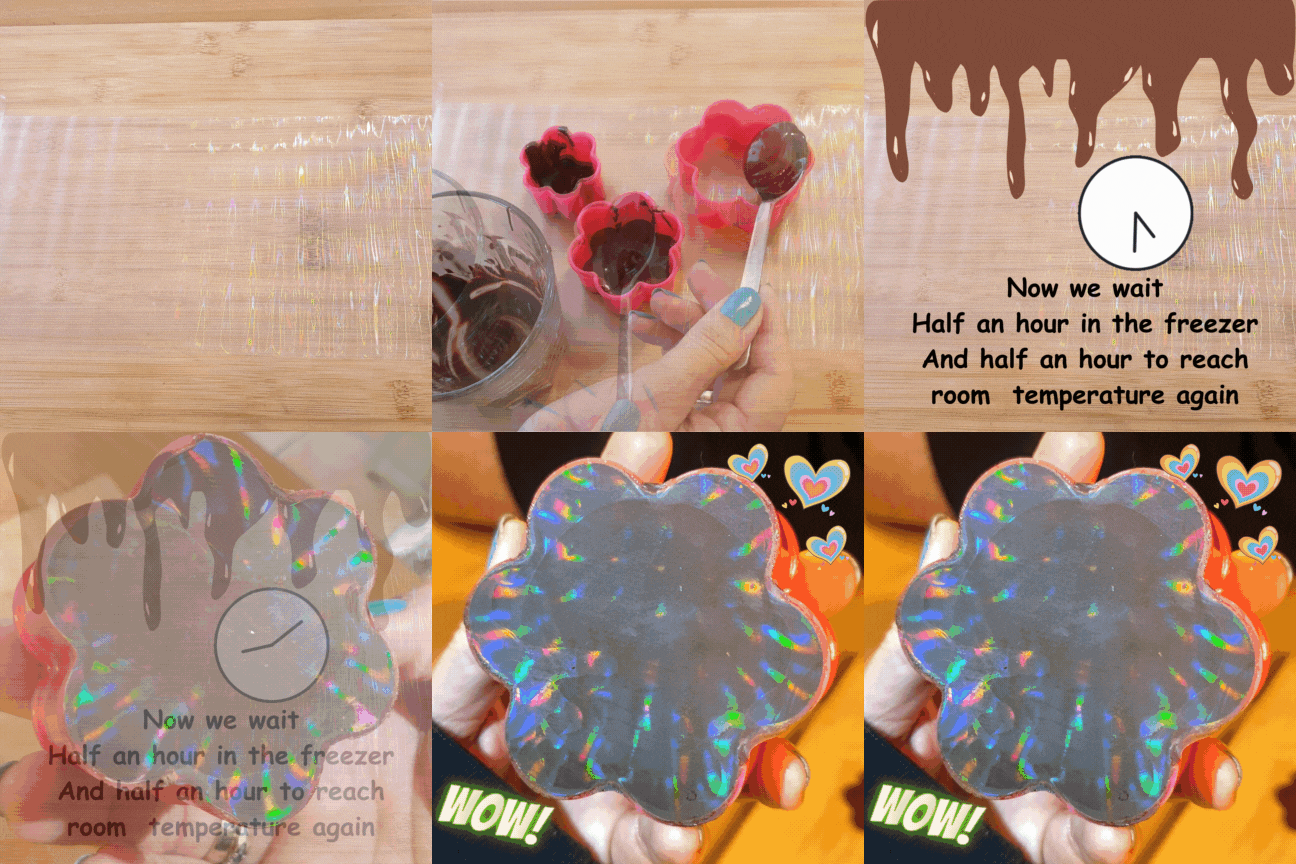
What to do?
- Gather all the materials you’ll need.
- Wash your grating with warm water. Make sure to let it dry completely. Don’t rub it with a towel so you wont scratch it. Best to let it air dry.
- Place the grating on a tray. make sure the texture side is up (if you scratch it gently with your nail you will hear a scratching noise you won’t hear on the smooth side)
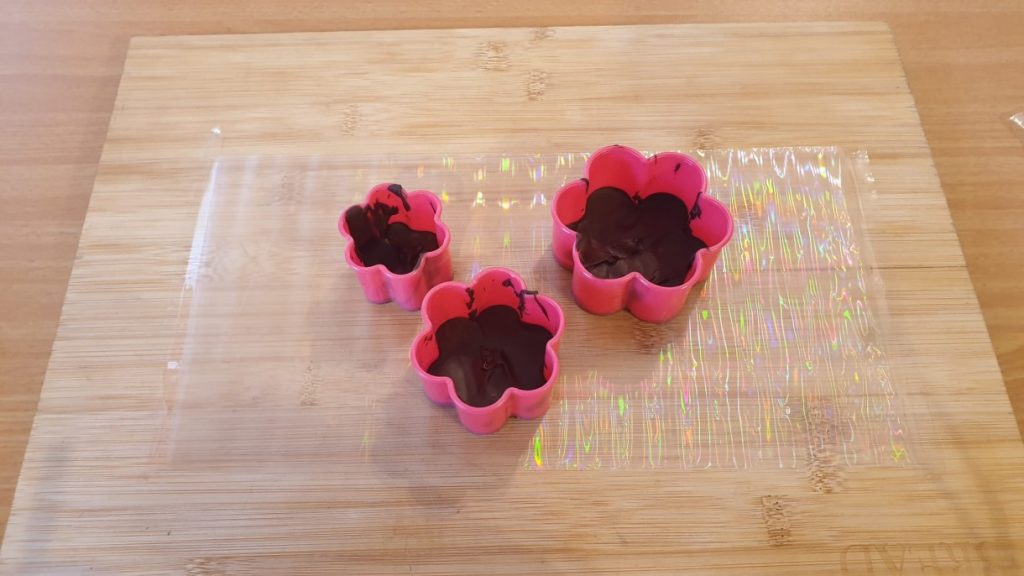
- You can place cookie cutters to get a nice designed rainbow chocolate.
- Chop the chocolate into small, pieces for quick melting.
- Fill a saucepan with about 1 to 2 inches of water. Be sure not to add too much water.
- Set Up the Double Boiler: Place the heatproof cup on top of the saucepan.
- Place the saucepan with the water on the stove over low to medium heat. Bring the water to a simmer.
- Add the chopped chocolate pieces to the heatproof bowl
- the chocolate will begin to melt. Stir occasionally with a heatproof spatula or wooden spoon to ensure even melting. Do not rush the process by turning up the heat, as chocolate can scorch easily.
- Ideal melting temperature for chocolate is between 104°F to 113°F (40°C to 45°C) for dark chocolate and slightly lower for milk and white chocolate.
- Once the chocolate is mostly melted take the bowl out. The residual heat will continue to melt any remaining solid pieces. Stir until completely smooth.
- Pour the melted chocolate on your grating.
- Tap the tray on the table a few times to make sure there are no bubbles, and the chocolate is well attached to the grating.
- Put the tray in the freezer for 30 minutes.
- Take the tray out and wait 30 minutes for the chocolate to reach room temperature.
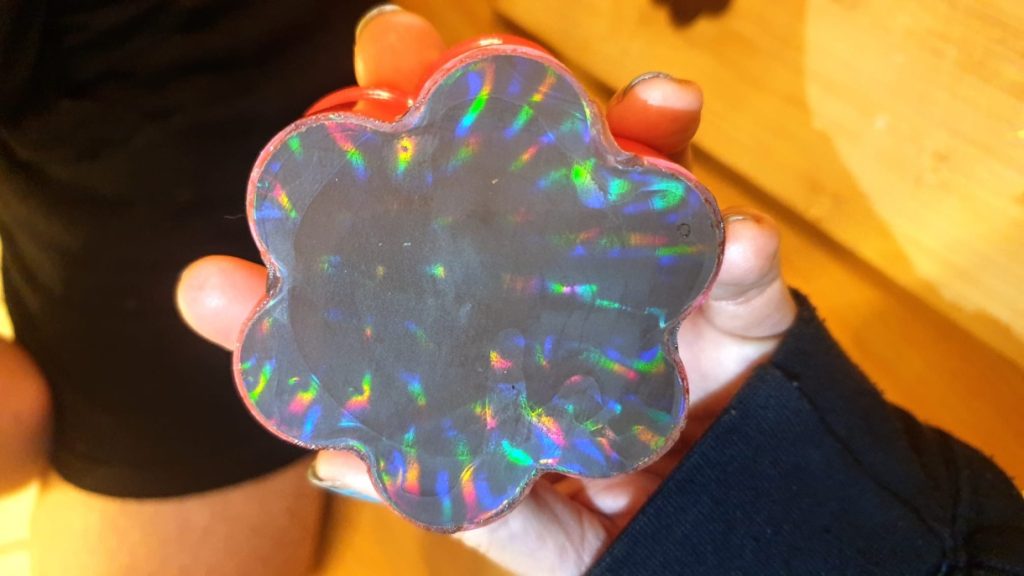
- Gently peel the chocolate off the grating and look at it in the light!
- make sure the texture side is up (if you scratch it gently with your nail you will hear a scratching noise you won’t hear on the smooth side)

How does this happen?
A diffraction grating breaks light into its individual components by exploiting the principles of diffraction. Diffraction is the bending of light waves as they encounter an obstacle or aperture. When light passes through a diffraction grating, which is typically a plate or surface with closely spaced slits or lines.
When a beam of light strikes the diffraction grating, it encounters the closely spaced slits or lines on the grating’s surface. Each individual slit or line on the grating acts as a point source of secondary wavelets. These wavelets interfere with each other as they propagate through the slits. The diffraction grating effectively disperses the incident light into its individual colors, much like a prism. This dispersion separates the white light into its constituent colors, creating a spectrum.
Our melted chocolate is smooth enough to get the texture of the grating. The chocolate surface gats the slits and lines so when we peal it off the grating, the chocolate itself can break the light like a prism!
*this post contains affiliate links.


